

I’ve been on a real kick lately making wood round signs (as has most every other crafter haha) and have been using this bow making technique to add a little something to them.
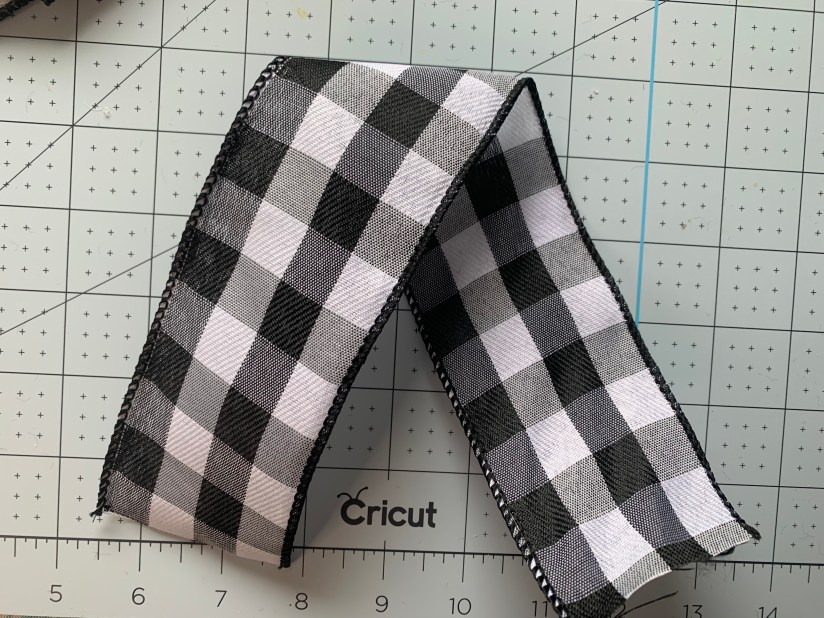
I use 2.5 inch ribbon but depending on the look you are going for, you can use whatever thickness works best for you. I also find that using ribbon with wire in it makes for a nicer looking bow.
What you’ll need:
- Ribbon (2.5 inch or you’re desired thickness)
- Scissors
- Ruler (or a cutter mat with measurements on it)
- Hot glue gun & glue
Cut the following lengths of ribbon (4 pieces in total):
- 6 inch
- 12 inch
- 14 inch
- 16 inch
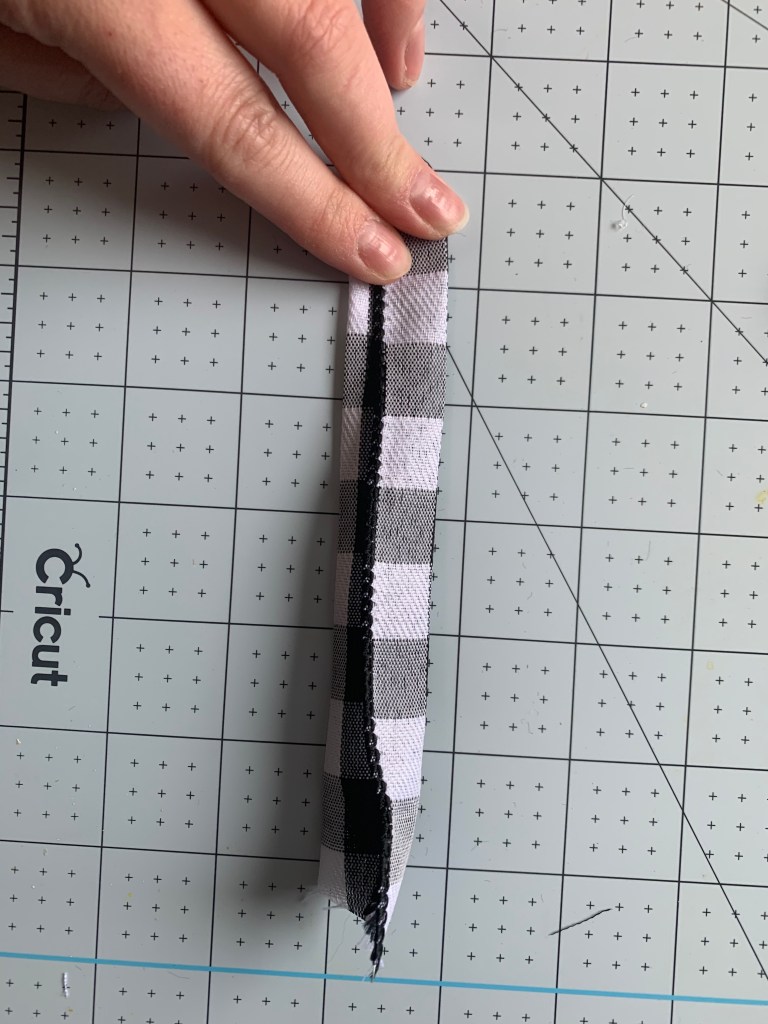
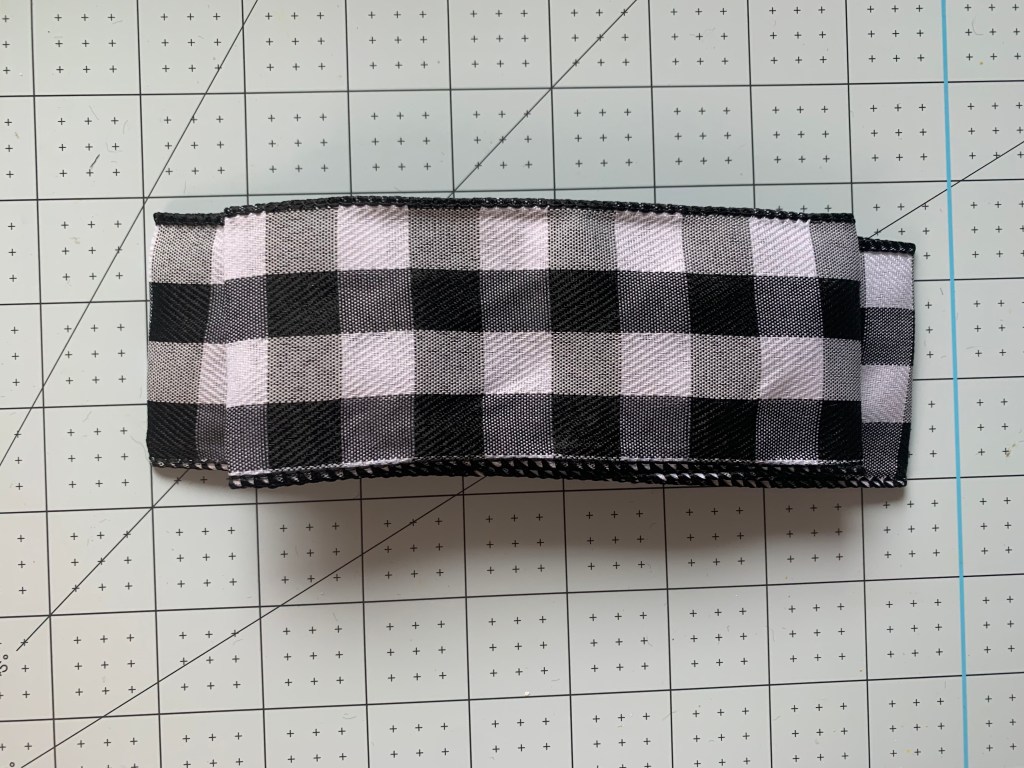
Take the 12 inch ribbon and glue the width ends of it together as seen in the image below. The ends should be overlapping about 1/2 inch. Next, take the 16 inch ribbon and do the same.

Next, take the 6 inch ribbon and glue the length ends of the ribbon together as seen below.

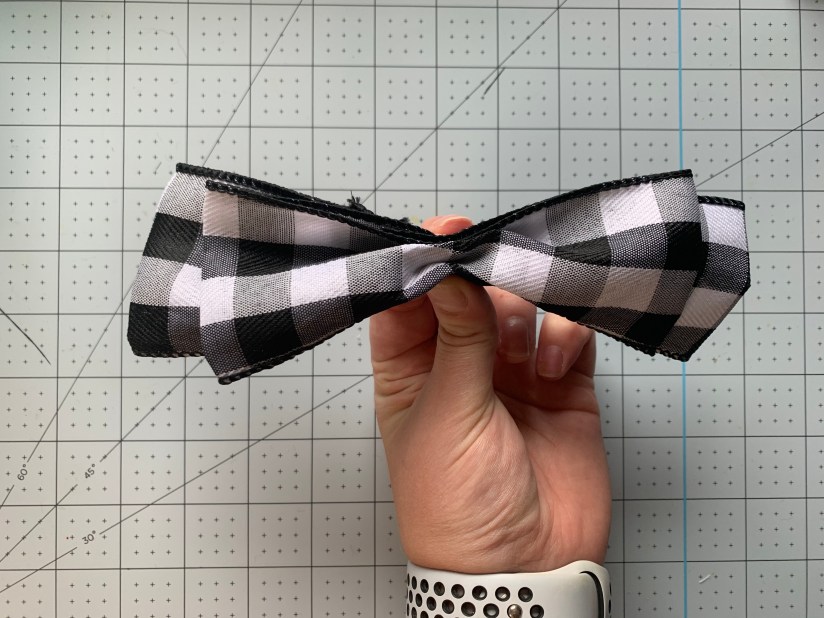
Center the completed 12 and 16inch ribbons, pinch the middle and use the 6inch ribbon to tie them together. You can glue down the ends of the 6 inch ribbon if they are still sticking out.
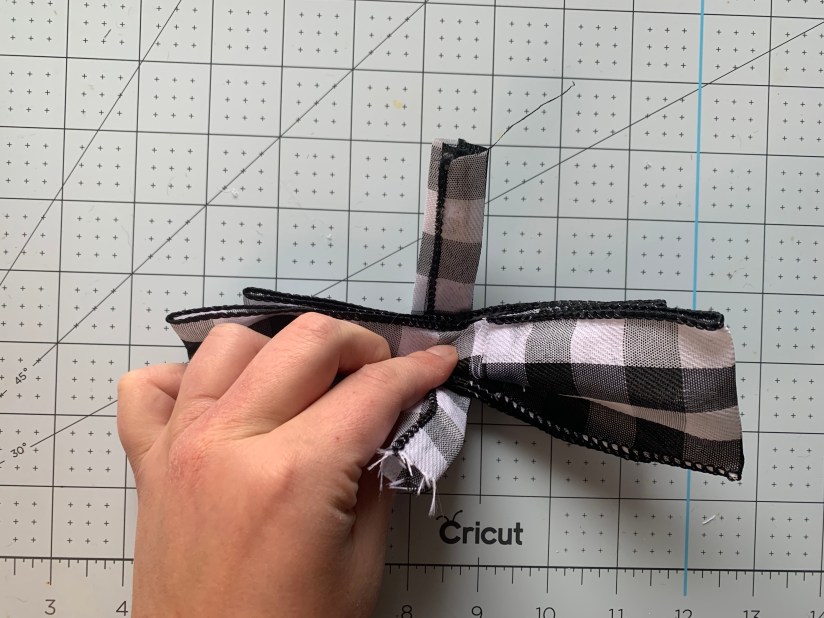


Make an upside down “V” with the 14 inch ribbon and hot glue that to what you’ve created above. I also add a staple in to make sure it is secure.

Cut the bow to your desire length or leave as is.

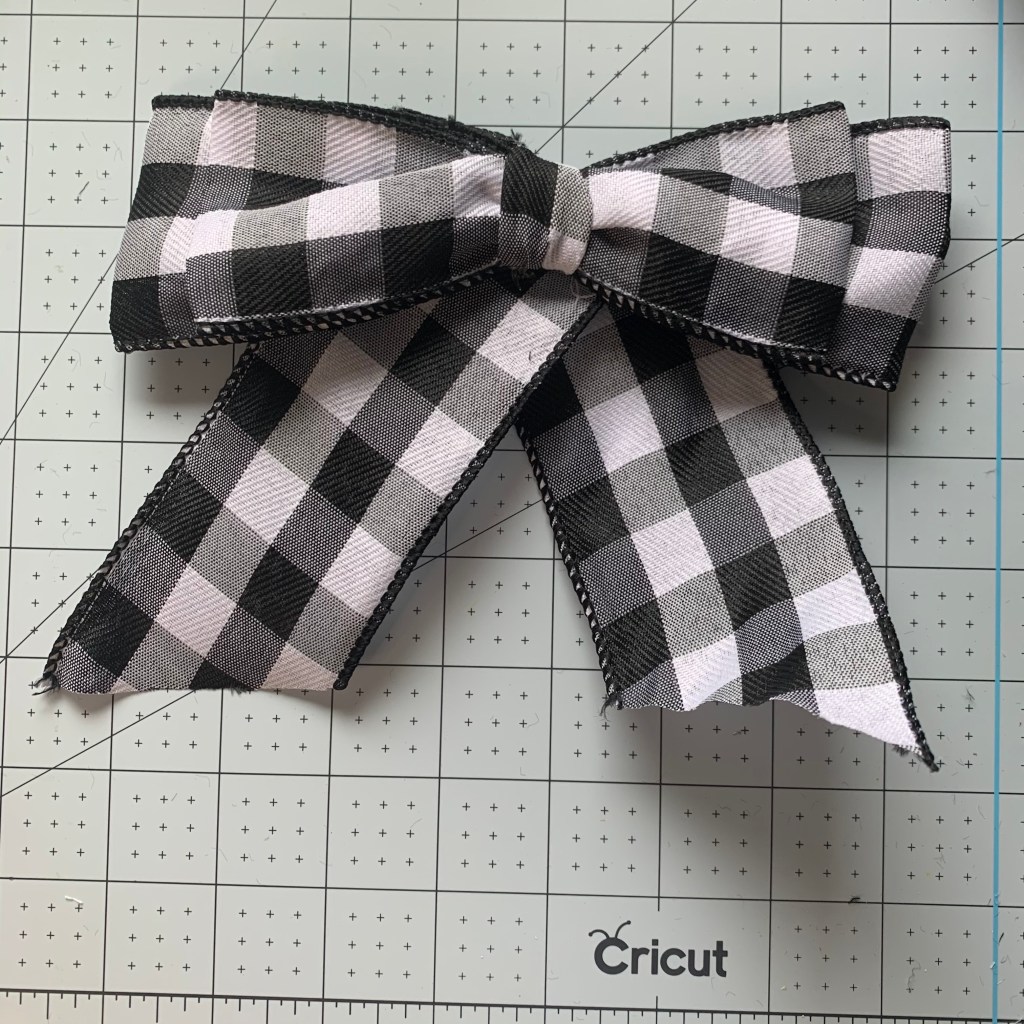
And there you go! A super cute bow! You can also adjust the size ratios if you need to make a smaller or larger bow.
Check out the video as well if you’d like to see one made from start to finish!
