

We had this old, ugly cork board laying around our house since I moved in that sat in our junk room and has essentially haunted me (yes, I’m overdramatic lol). I’ve been wanting to get rid of it as it was faded but I decided to give it a refresh instead and put it in my office! This was so easy and a great way to add some style to something I had planned to throw away purely because it wasn’t aesthetically pleasing enough!
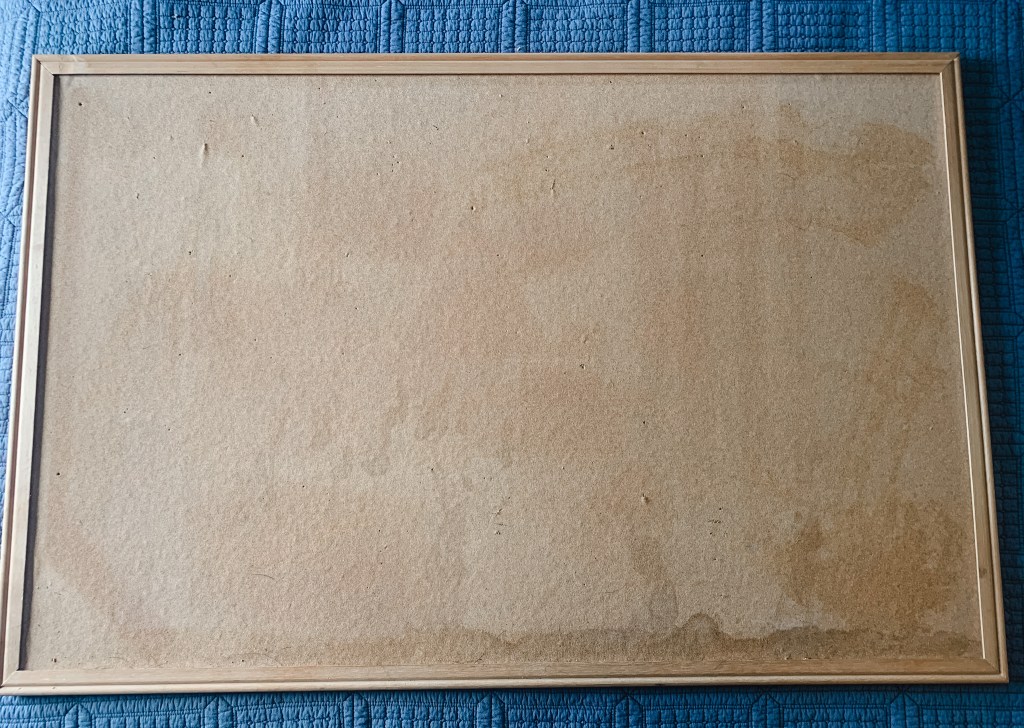
Here’s the board that I started with:
What you’ll need to update your own:
- Cork board (any size)
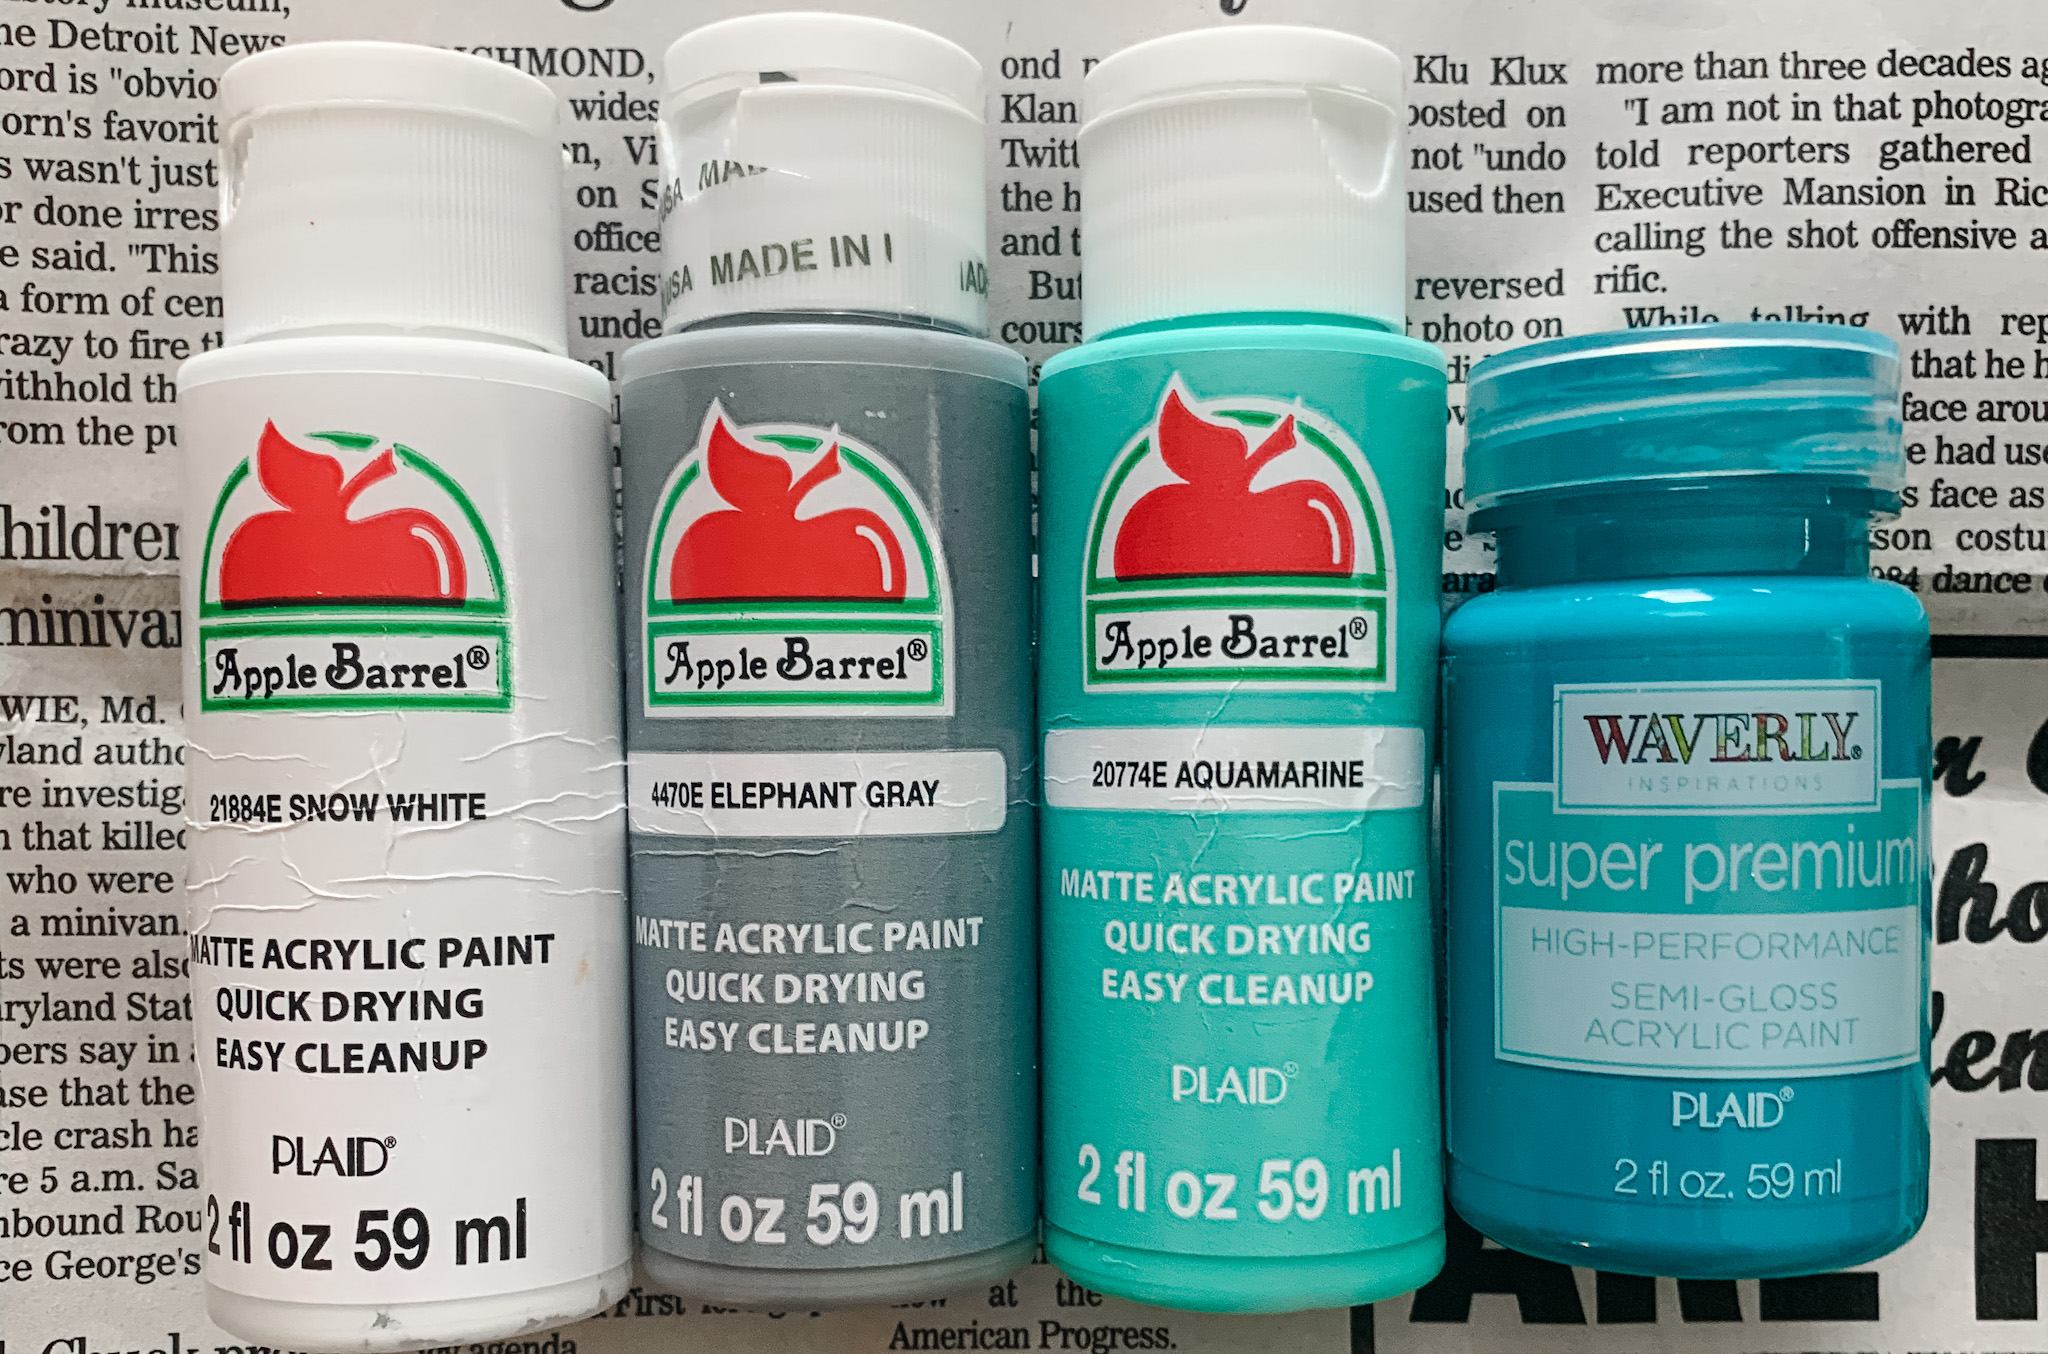
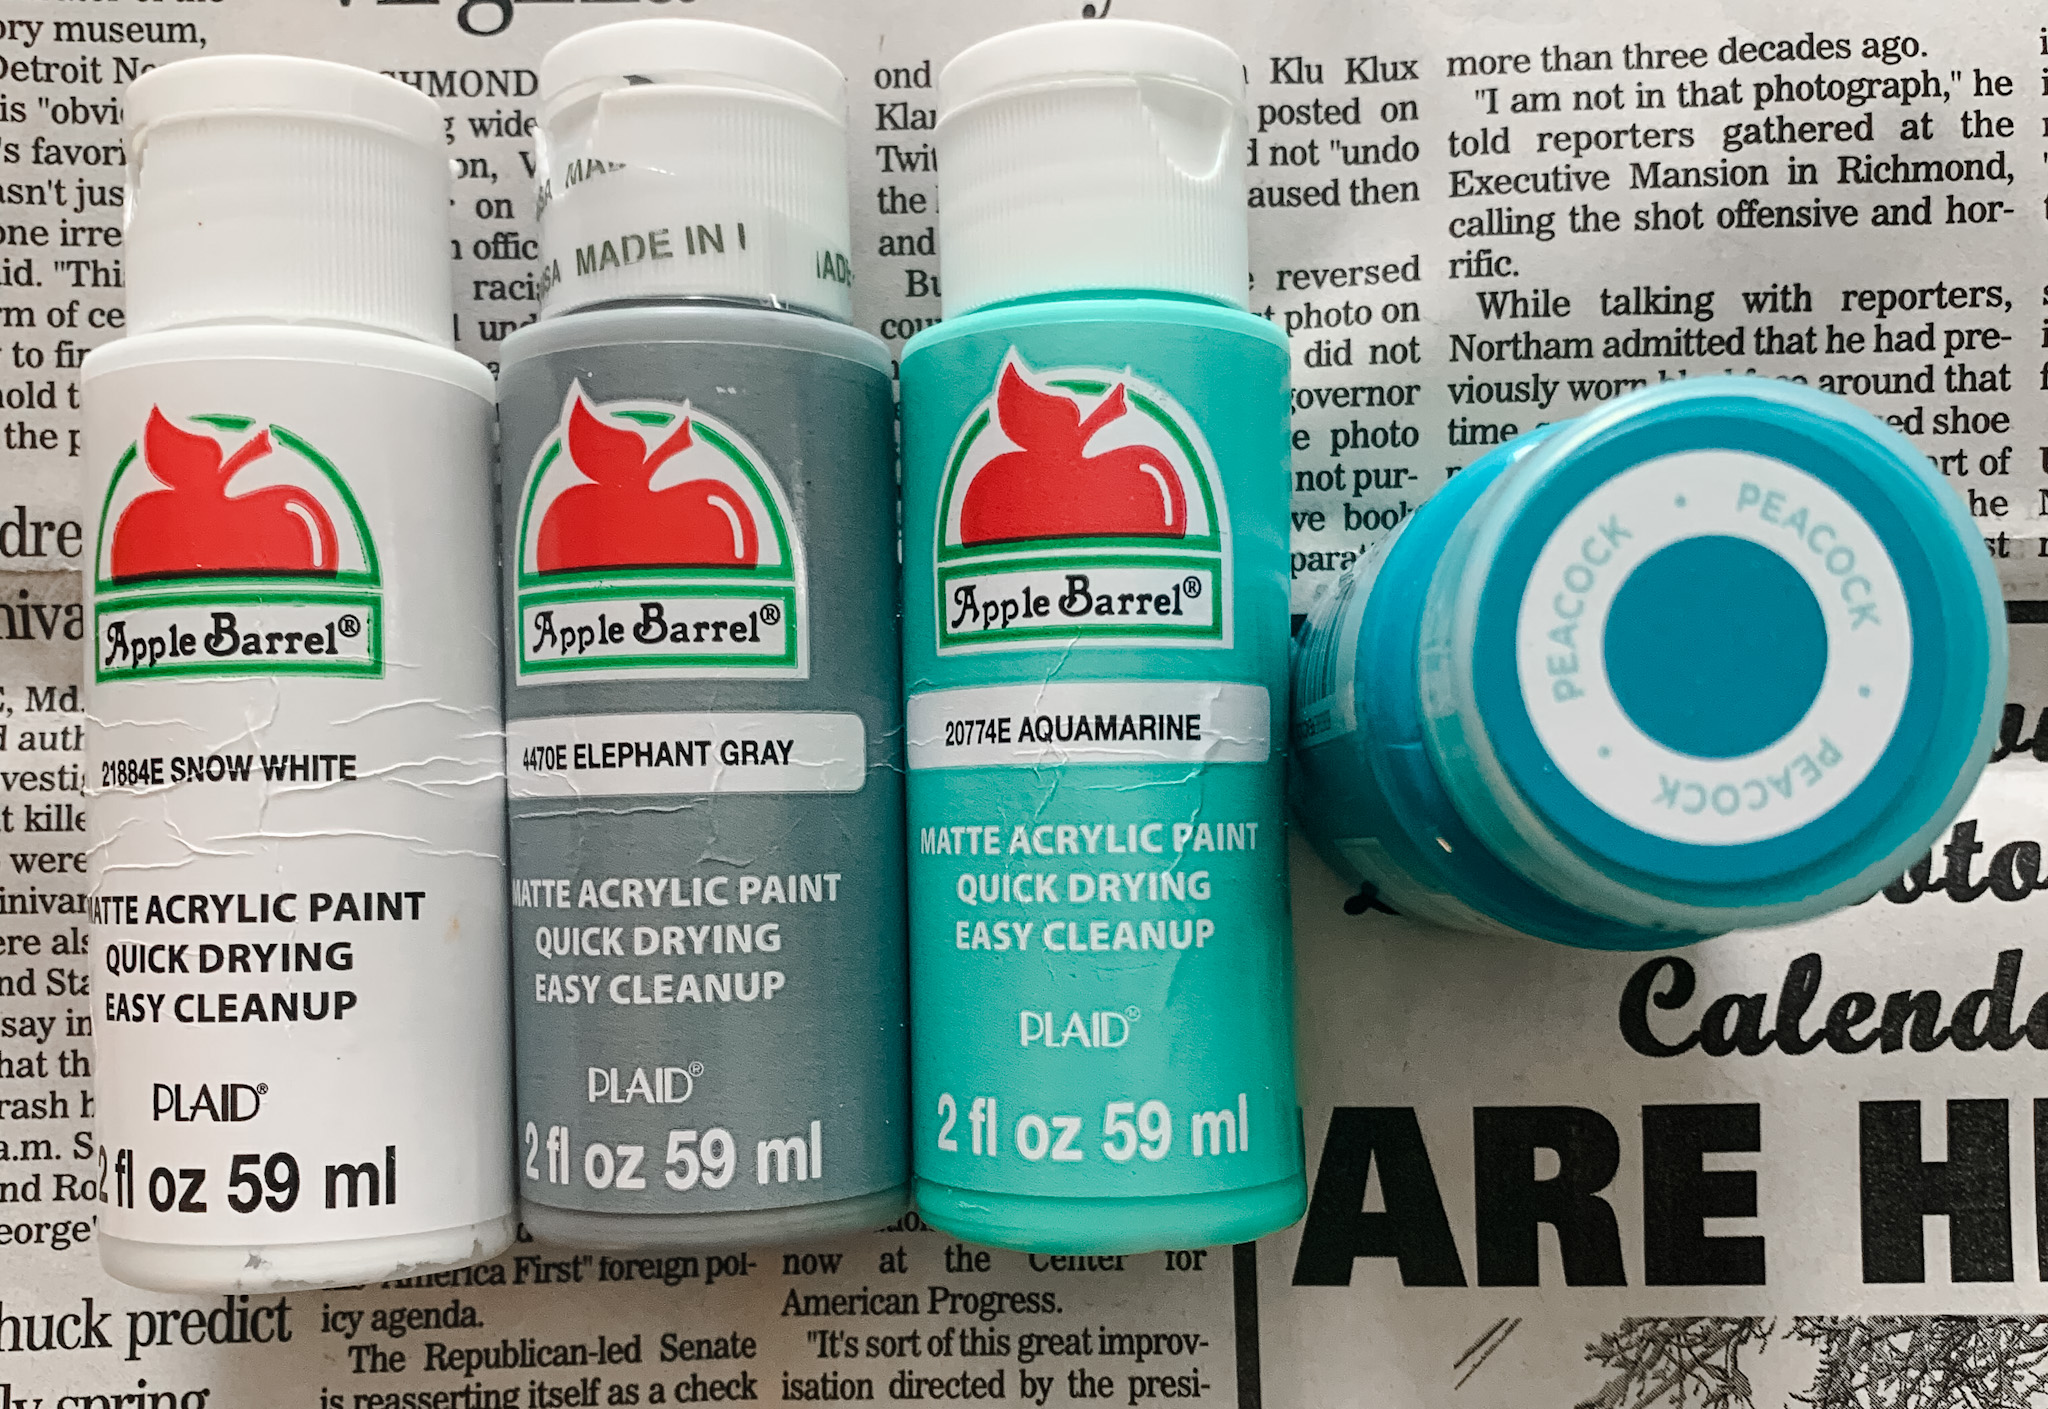
- Acrylic paint (I used 4 colors but you can pick however many you want!)
- Paint brushes
- Painter’s tape
Step 1:
If your cork board has been collecting dust like mine was, take a damp paper towel and clean it up so there isn’t any debris on it before you paint. Make sure it’s dry before moving on.
Step 2:
Take your painter’s tape and cover the frame if you don’t plan on painting it (I did this however in the end I decided to paint it white). Skip this if you’re going to paint the frame at the end.
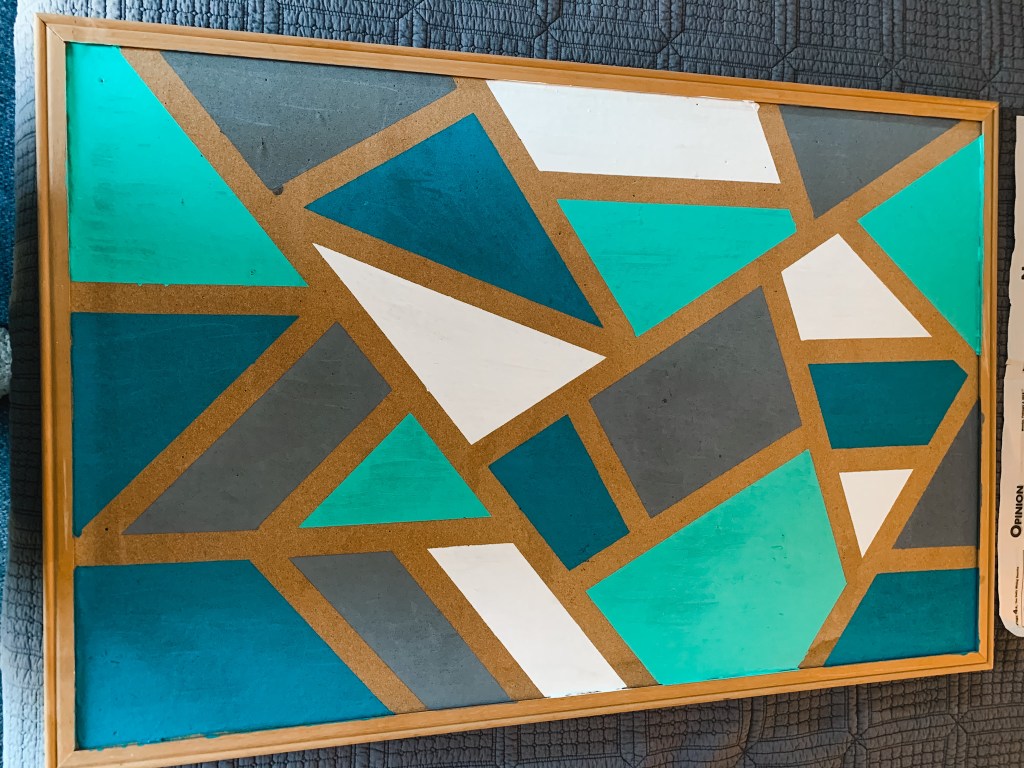
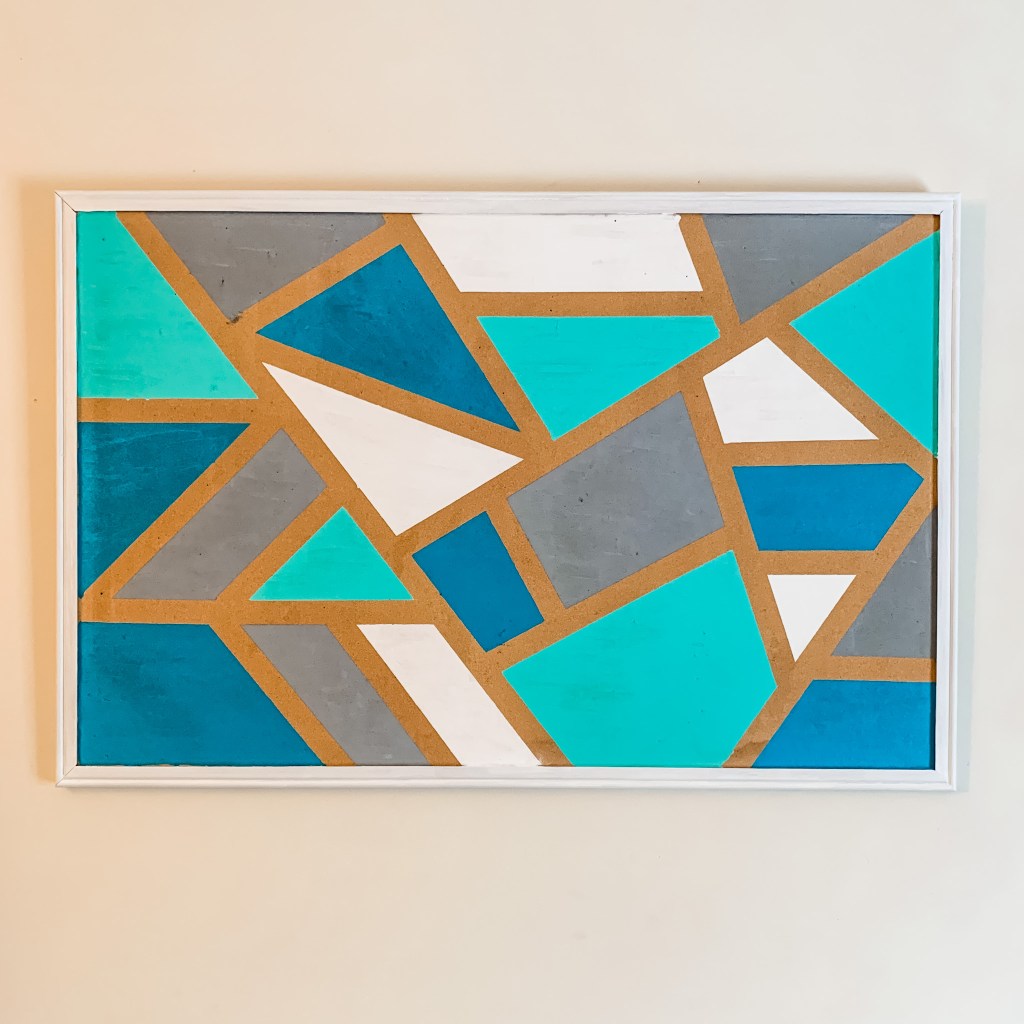
Using the tape, create a design on your board. I went for a geometric pattern but you can essentially make any design you want with your tape. I thought stripes would be a cool approach as well! There’s no wrong way to do this & I love that every person who does this will have a different board. If you have a Cricut, you could even make a stencil with whatever design you want instead of using tape!
Make sure your tape is pressed down really well so paint doesn’t bleed through!

Step 3:
Start painting! I tried to space my colors out as best I could but again there’s really no wrong way to do this.
TIP: I recommend choosing darker colors so you don’t need as many coats of paint. The white on mine took several coats and it still is a bit see through.

Step 4:
Let your paint dry completely! Once it has dried, you can remove the tape and reveal your awesome design!
Step 5 (Optional) :
Paint your frame if you want to! Let it dry and hang that baby up!
And that’s it! If you give this a try, I’d love to see so make sure you tag me on instagram @makingstuffwithsam & #makingstuffwithsam !
Here’s the video that goes through the process as well!
