

Yep that’s right, the Cricut Maker has the ability to engrave and it works so well! The engraving tip permanently etches a design into a variety of materials using its sharp tip.
It is part of the Quick Swap Housing System where you only need one housing set and can swap between different tips such as the engraving tip, debossing tip, wavy blade and the perforation tip.
The housing and engraving tip looks like this:

Some of the materials you can engrave are:
- Leather
- Faux leather
- Acrylic (I tested 2.5mm thickness)
- Copper (40 gauge)
- Acetate
- Aluminum sheets (0.5 mm)
- Aluminum bracelets (14 gauge)
- & a variety of poster boards & papers
If you want to experiment with other materials, you’ll want to make sure that they are thin enough to fit under the roller bar. From what I’ve come across, you should keep the thickness under 1/8 inch.
I’ll now go over what I used to create a personalized, engraved keychain and the step by step instructions.
Materials:
(some affiliate links are used below)
- Cricut Maker
- Cricut Engraving Tip
- Cricut StrongGrip Cutting Mat
- Painter’s Tape
- Acrylic keychain
- Tassels (optional)
Instructions:
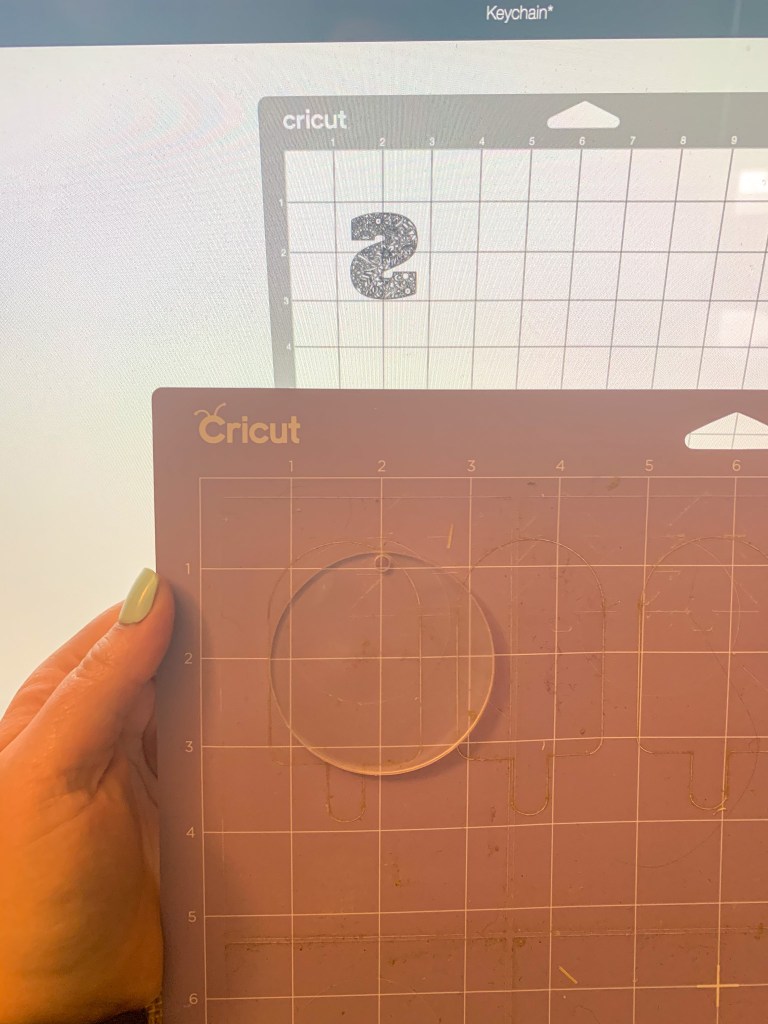
- Once you choose a design you’d like to engrave, all you need to do is change the “Operation” in Cricut Design Space to adjust the design to engrave:

2. Click “Make it”.
3. On the preview screen, choose whether you want to mirror the image or not. I did for this because it was a letter and I wanted the smooth side to be the side you read.
4. Adjust the placement on Cricut design space so your blank will be easy to line up on the mat.
5. Place blank on the StrongGrip mat. Tape down the edges to ensure it doesn’t move. Excuse the dirty mat below, that chipboard is tricky to get off the mat…
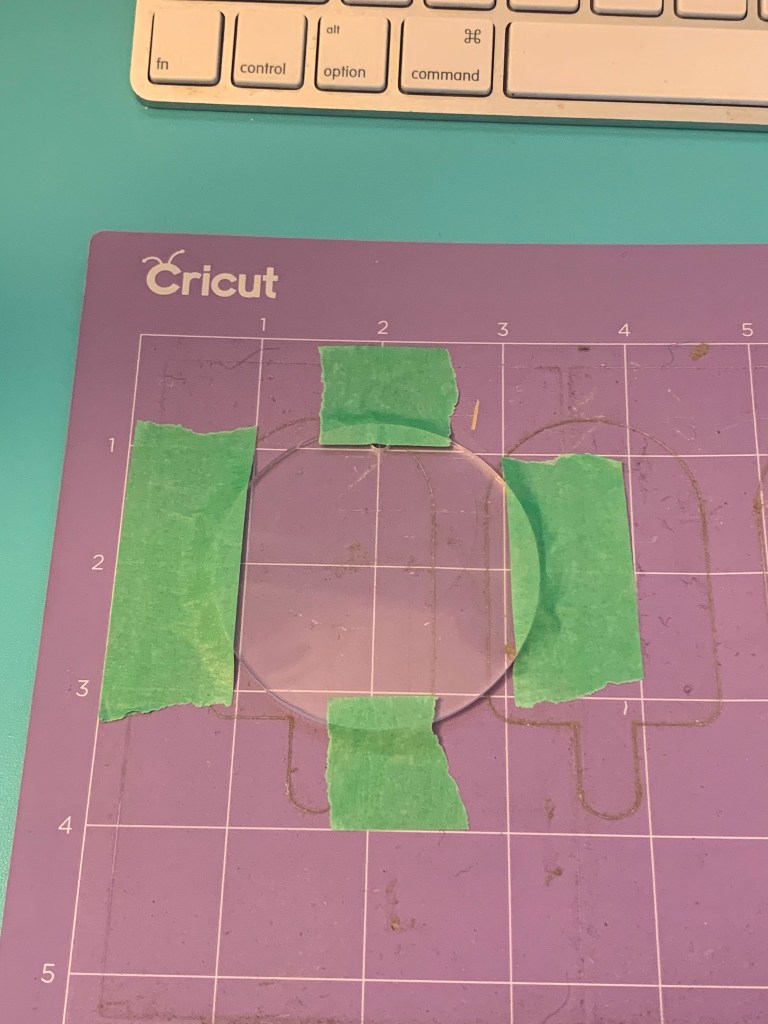
6. Choose your material (it will only show ones that are able to be engraved). I used Acrylic-Thick 2mm for this.
7. Insert the Engraving tip in slot B and move the white rollers all the way to the right.


8. Insert the mat and press the Cricut button to start the cut.

9. Once it’s finished cutting, remove the mat from the Cricut. Remove the tape and peel up the acrylic piece. Use a lint roller to remove any excess material from the engraving process.

If you want to add a little something more to the keychain, you could cut out a piece of vinyl to place on the back like some of the ones below. I also added a little tassel as well, customize to your liking!! 🙂
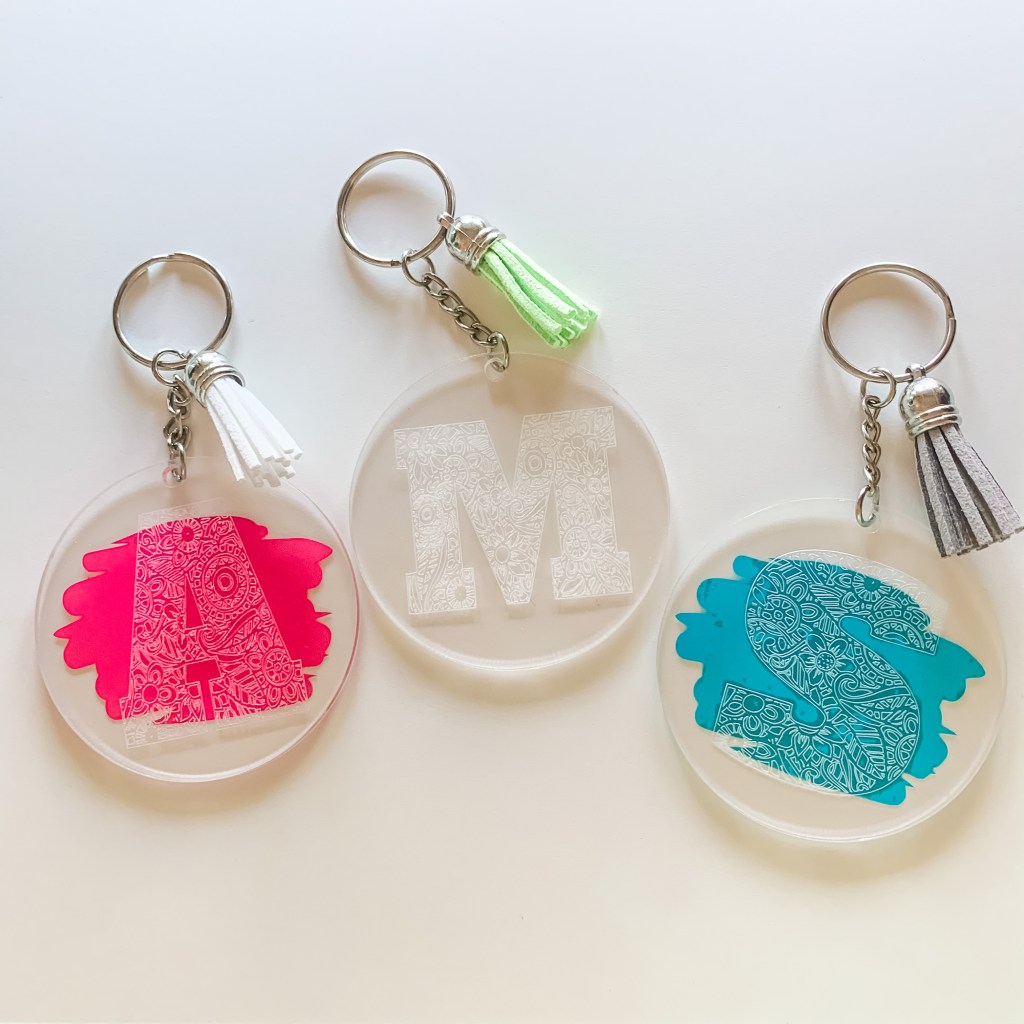
Let me know if you have any questions in the comments!! Happy crafting!!
